How to Update the Premium Version Manually

by admin

WP Fastest Cache Premium updates the plugin automatically but sometimes you can get problem about update.

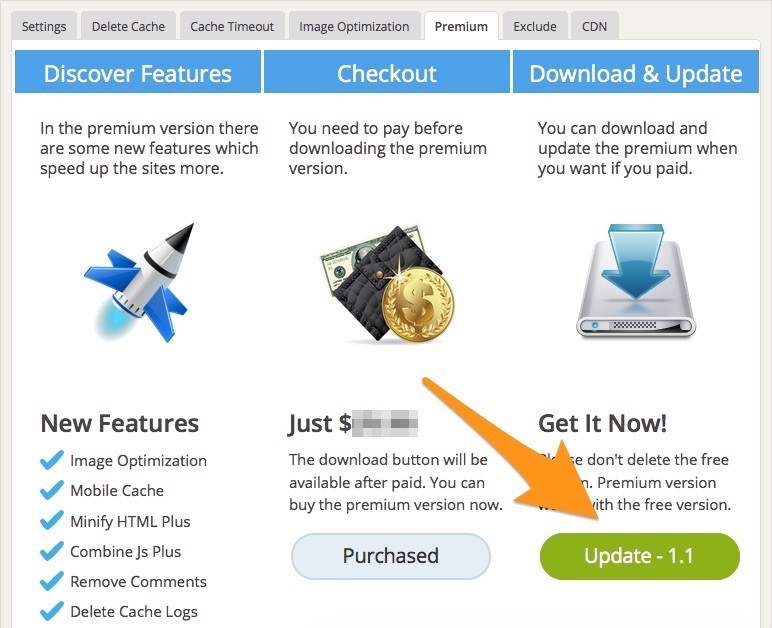
First of all, you need to click on update button.

Update Premium Page

Download the zipped file via Download button.

Download Update Page

After download the zipped file, go to /wp-content/plugins/ and delete /wp-fastest-cache-premium and /wp-fastest-cache-premium.zip files.

delete-files-on-cpanel

After delete them, click on the upload button and upload the zipped file.

cPanel_File_Manager_upload-button

cPanel_upload-file

Now, you need to select the wp-fastest-cache-premium.zip file and extract the file.

cPanel_File_Manager_extract-file

Now, you can use updated premium version.

Related articles

Placeholder Image
.htaccess was not found

If you get such warning when you save the settings, it means that there is no file called .htaccess in…

Amazon S3 Cloudfront Access Denied 403 Forbidden

CloudFront may return 403 Access Denied error if you are using Amazon S3 bucket as the origin of Amazon CloudFront…

Placeholder Image
How to Activate the Premium Version Manually

If you have already paid, you should have gotten an email from us which contains the zipped file.

Ready to get started?

Purchase your first license and see why 1,500,000+ websites globally around the world trust us.